Sunday, September 29, 2013

We've Officially Moved

We now live at 1812 Belmar! 

We really moved in almost a month ago....since that time we have put a lot of projects on hold. We both needed a much needed break from projecting. Instead we have been decorating and shopping on macys.com and repurposing all those wedding gift cards we received! It took almost two weeks just to get our closet set up (it was a challenge splitting it 75/25 but I made my 1 and half side work) and we didn't own a couch or kitchen chairs for at least 2 weeks. Most of our furniture came from craigslist or a thrift store/flea market or free road side picks ups or made by David Brey.
Yet to do....

  • window coverings
  • hang pictures
  • unpack MISC boxes (we've all got em) 
  • install closet doors 
  • wait for new area rugs to arrive 
  • stain/paint kitchen chairs 
  • install fireplace stone
  • install window trim 
  • throw a christmas party
To get the moving process going I had a surprise day off from work the Friday of labor day weekend due to "excessive heat!" I mean it was 87 degrees in my room at one point. The 5 year olds would flop over on the carpet during math time. We deserved it. :) It was like God gave me the gift of time. I spent that whole Friday packing up our knick-knacks and forget-me-nots.  I lamented over how much stuff we had. Then David came home and we packed up the bedroom and all the big furniture. Then we drove over to Belmar to spend our first night there. We opened a bottle of champaign we were given at our wedding and David gave me a housewarming gift, a photo book of our honeymoon pictures! We spent the rest of the weekend unpacking and unpacking and unpacking.  

Following the trailer of our stuff 

The front seat (this scene looks familiar)

Hi Trailer!

Housewarming Gift 

Bottle of DOM

There were directions on how to pour 

It was delicious :) Thanks Zindricks!


Our house pet 

First Fire (later that month)

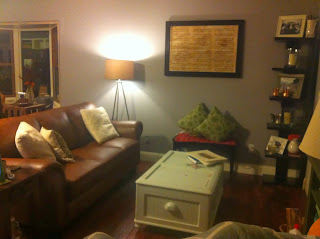
Living room 

Orange Chair!

We love our wine cabinet made from repurposed wood

pressed back kitchen chairs

Master Bedroom 

New Rug 

Hers and His closet 

His dresser 

my dresser

Guest Bedroom plus the unopened box room and knick knack room 

An incredible sun rise from our place 

Babushka Magnets!

Wednesday, September 11, 2013

Pocket Bathrooms


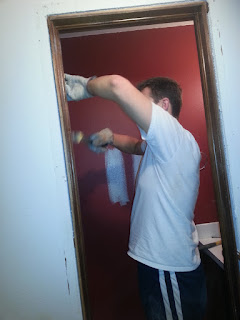
In the living and kitchen area we have a second bathroom (woot woot). It is a half bath (I think, there is a sink and toilet no shower/tub). The first thing we noticed is it was painted RED! It was terrifying color for such a small space. Secondly, the door to the bath opened in so in order to get in and close you you had to squeeze your body into a corner and pull the door shut around you. And a similar process was needed to get out. Very not functional. We decided immediately that the door had to go and we were going to install a sliding barn door (this is still in process). So we ripped everything out. Painted. Installed a new toilet, sink, and light fixture. And David put new trim and wainscoting around the sink. Now it is the prettiest second bath ever!

First removed the door frame


Then the toilet 


Away with you haneous vanity 


Trish helped remove the old linoleum just in time to install the hardwood, she also painted the whole bathroom but we have no photographic evidence for this event :(

David installed wainscot and added trim to the bathroom

and a new light fixture

We bought a pedestal sink (we had to return because it was shattered when we opened it boo HD)

Installed with trim! 

David hung a mirror he made


And our pocket bathroom is finished (minus the door)

Woot Woot!

So if you come over and want to use the pocket bathroom we will go downstairs because there isn't a door. I haven't found the right one yet. I didn't take any pics of the toilet but it is super special and energy efficient. It has a button for number 1 and a button for number 2. Super high tech!

Sunday, September 8, 2013

Let there be light

First of all sorry for the delay in postings. I've been scolded many a times the last 2 weeks. Here are my excuses: We moved in Labor day weekend, we didn't get internet until the Tuesday after we moved in, I started work at school 3 weeks ago and 23, 5 year olds are EXHAUSTING, then we went camping this weekend for some much needed fun. I will get everything up to date as soon as possible. Ok onto the subject...lighting

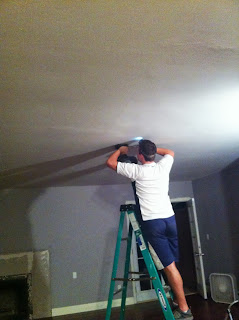
We removed every single light fixture from the house. Not a single one would do for our particular style (which is not 1970's). No offense to the 70's but I'll take the 2000's over it any day. First off,  for our battle for light fixtures David had to rewire the switches from the floating closet (see who needs licensed electrician?) Then he covered the wall in wainscoting to make it look custom. On this wall he created a switch board for our ceiling fan, kitchen light, and dining room light. So far we have installed the kitchen light and the ceiling fan. But the biggest battle was finding the time to purchase the new lighting and staying under budget. I was able to buy the ceiling fan, the kitchen drop down, and the flush mount by the bathroom in one run but the other remaining lights I bought the next weekend at a annual lighting tent sale. (I went a little over board so we had to take out from the furniture budget eeeee) Now the ceiling fan used to be where the dining room chandelier currently hangs. David cut a new hole in the center of the room (carefully measured and selected by myself), he then set up the wiring so we could install a central fan and light. The new fan is on a remote control and has 3 speeds! It is a little low but it is in the center of the room and makes no noise. Yay! 


Next, David installed the kitchen lighting. I got a vintage looking wire light for over the sink (from HD) and a flush mount from the tent sale. My dilemma with flush mounts is many of them are circular and have a center point which is reminiscent of a "nipple." I despise them especially since my mind says BOOBS! everytime I see one. Maybe it's just me... So I found a flush mount with a square center point (very much not breast like). 


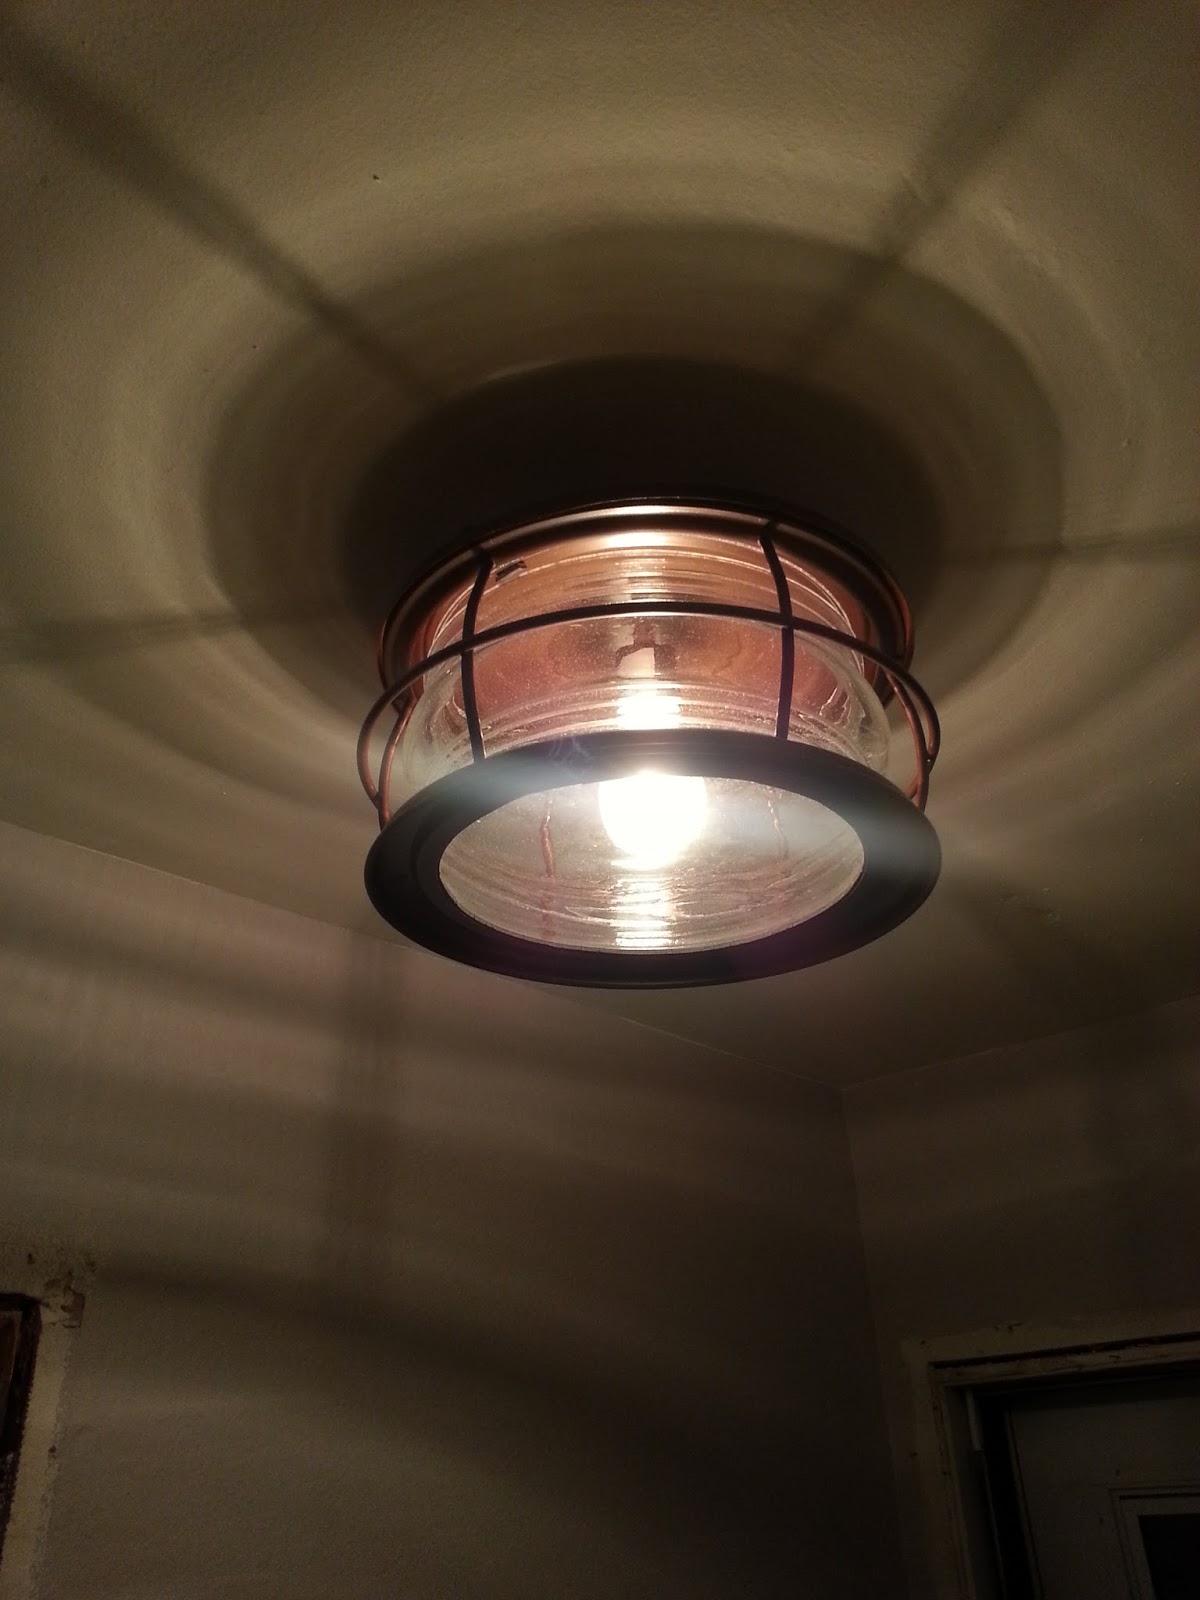
David (I assisted with moral support) installed another flush mount in the immediate entry. I picked a nautical fixture with a vintage bulb.


Here David is installing another flush mount in the hallway outside the guest powder room.


The final thing to do was install the entry way chandelier. I wasn't told to keep weight in mind when purchasing this item. Husband was a little concerned it might crash to it's death. However, upon further investigation and taking some extra precautions the chandy has not yet crashed post installation. First he added some screws to the mount box (my name for the plastic device that goes into the ceiling hole and holds all the wiring). This way there was peace of mind about the crashing fear. While he worked on setting up the electrical, I put bulbs in and got the chandy in position. (An extremely important job). My other jobs were to decide how far down the chand would hang and to hand it to David up in the ladder. So I handed it up and he hooked the chain through the anchor and  screwed in the top. I am sure he can tell you it was much more complicated.


Wahhhhlaaaaaa
We have light!

The last thing to do is to turn our engagement chandelier into a light fixture. It's on the list of things to do but we probably won't get to it for awhile. I'll let you know when we do.


Search This Blog