Monday, October 28, 2013

Kitchen: Window Treatments

How annoying is it that a window looks naked without a window treatment. It was one of the first questions I got about the house, "What about the window treatments?" but it was put to the very bottom of the list of things to do. As I shopped around at the various stores we had gift cards to I found that very few stores carries an acceptable style with the length we needed. We actually needed several sets of shorter curtains due to our particular window needs. I finally just bought curtains (twice - the first attempt was a fail they did not look at all like the picture) and decided to shorten them myself. Yes all by myself I was going to cut and hem to make custom curtains - oh boy. I had sewed once in an "intro to sewing" class. We made napkins so I was a pro by now right.  But first like any good craft idea I had to go to joannes and buy all the professional equipment (roller cutter and cutting mat). I borrowed a friends sewing machine (thanks Amanda) and made my first attempt. Turns out I am terrified of sewing and had my husband help me through my fears. He eventually felt safe to leave me when I started yelling "I'm Sewing!" 


Proper cutting equipment

Then I pinned the hem 

Ironed it and melted the pins ...whoops 

set up the sewing machine and interpreted the directions 

and started sewing straight lines :)

LOOK I SEWED THAT


I even had extra fabric to make a table cloth which I also hemmed. Boom I am a sewing champion! 

Thursday, October 17, 2013

Official Door Hanging Session


After we finally finished painting we waited the whole day for them to dry and then hung them late sunday night. We were too excited to put it off any longer, We used the same hinges and screws from before. This whole project door project probably cost us less than $100 (not including the sprayer $60) for primer, paint, trim, caulk, and wine.  (I don't know why my camera makes everything look like the 70's)


now onto the lower ones...


WE love the doors! It is hard to remember what our kitchen used to look like! It is hard to believe our new kitchen is really just the same ol brown doors with a facelift. 

Here is a reminder...


All that is left to do is to add knobs and pulls :) 

Monday, October 14, 2013

Caulk and Paint (my favorite thing)

After the doors were completed now it was my job to take over. The doors had to be caulked, primed, and painted. David helped me do this part as well. Since Caulking is the worst it took me several hours to do 10 of them and David did the last 5 the next day. To ease the pain of caulking and priming there is always wine and netflix to pass the time. 


The next day we tackled the painting together. You need two people to spray the doors. One to hold and one to spray. Here is our spraying station. 

When spraying just accept that paint will get everywhere. Your face, your arms, your shoes, your hair...

Drying in the driveway 


We finished just in time to watch the Broncos game/take a nap (p.s. I only watch because everyone else my allegiance to the Chicago Bears has not wavered)

We had to wait a week to flip the doors over to do the other side. We laid them out on a tarp and got out our favorite sprayer (said with sarcasm its a love hate relationship between us and the sprayer)


Now just to wait for them to dry.........


Wednesday, October 9, 2013

Old Doors + Trim = custom doors


 We had to wait quite awhile to get back to the cabinet doors to complete the project. Many projects were just more important to complete so doors were just not necessary for awhile. In the meantime we added flooring, new appliances, counter tops, new lighting, new sink and faucet, and moved all our kitchen items in. We didn't get back to the doors until mid september. We started by buying trim so that david could add it to the existing doors. Then we planned on caulking and painting them. The final touch will be new knobs and pulls. 


  We finally found a moment to add trim to the existing doors (when I say we, I mean David) I supported. First he cut trim pieces and fitted them to each individual door.

Then he nailed the boards to the door


Then he took a router (I helped hold the board for this part) and routed the edges to give it a custom finished look
Heres what that looks like
Another view of the doors


We held them up to see how they would look. Next task is caulk and paint (my turn to work on the doors.) 

Sunday, October 6, 2013

Cabinets: Plans, Demo, Prime, Moving things around and more...


Oh our kitchen cabinets... 
They are dark brown, no hardware, poorly designed, small drawers, and the most haneous of all cabinet sins THEY HAVE NO TRIM! Oh my this will not do. My shabby chic love of embellishments must be attended to. As I mentioned in a previous post, we investigated buying new cabinets (that would have blown the budge). Then we investigated building our own, a cheaper option but aint nobody got time for that. Given the nature of our reno everything seemed to rely on something else being done first, like dominoes. We just couldn't put things on hold until cabinets were finished. We wouldn't have moved in till December. Henceforth, we determined that we would keep the current cabinets...paint them...add trim to doors...add hardware ourselves...add crown moulding...replace our peninsula with a lazy suzy...add under cabinet lighting...and eventually add top cabinets to make the kitchen go all the way ceiling. So here we go...

Old Haneous Kitchen 


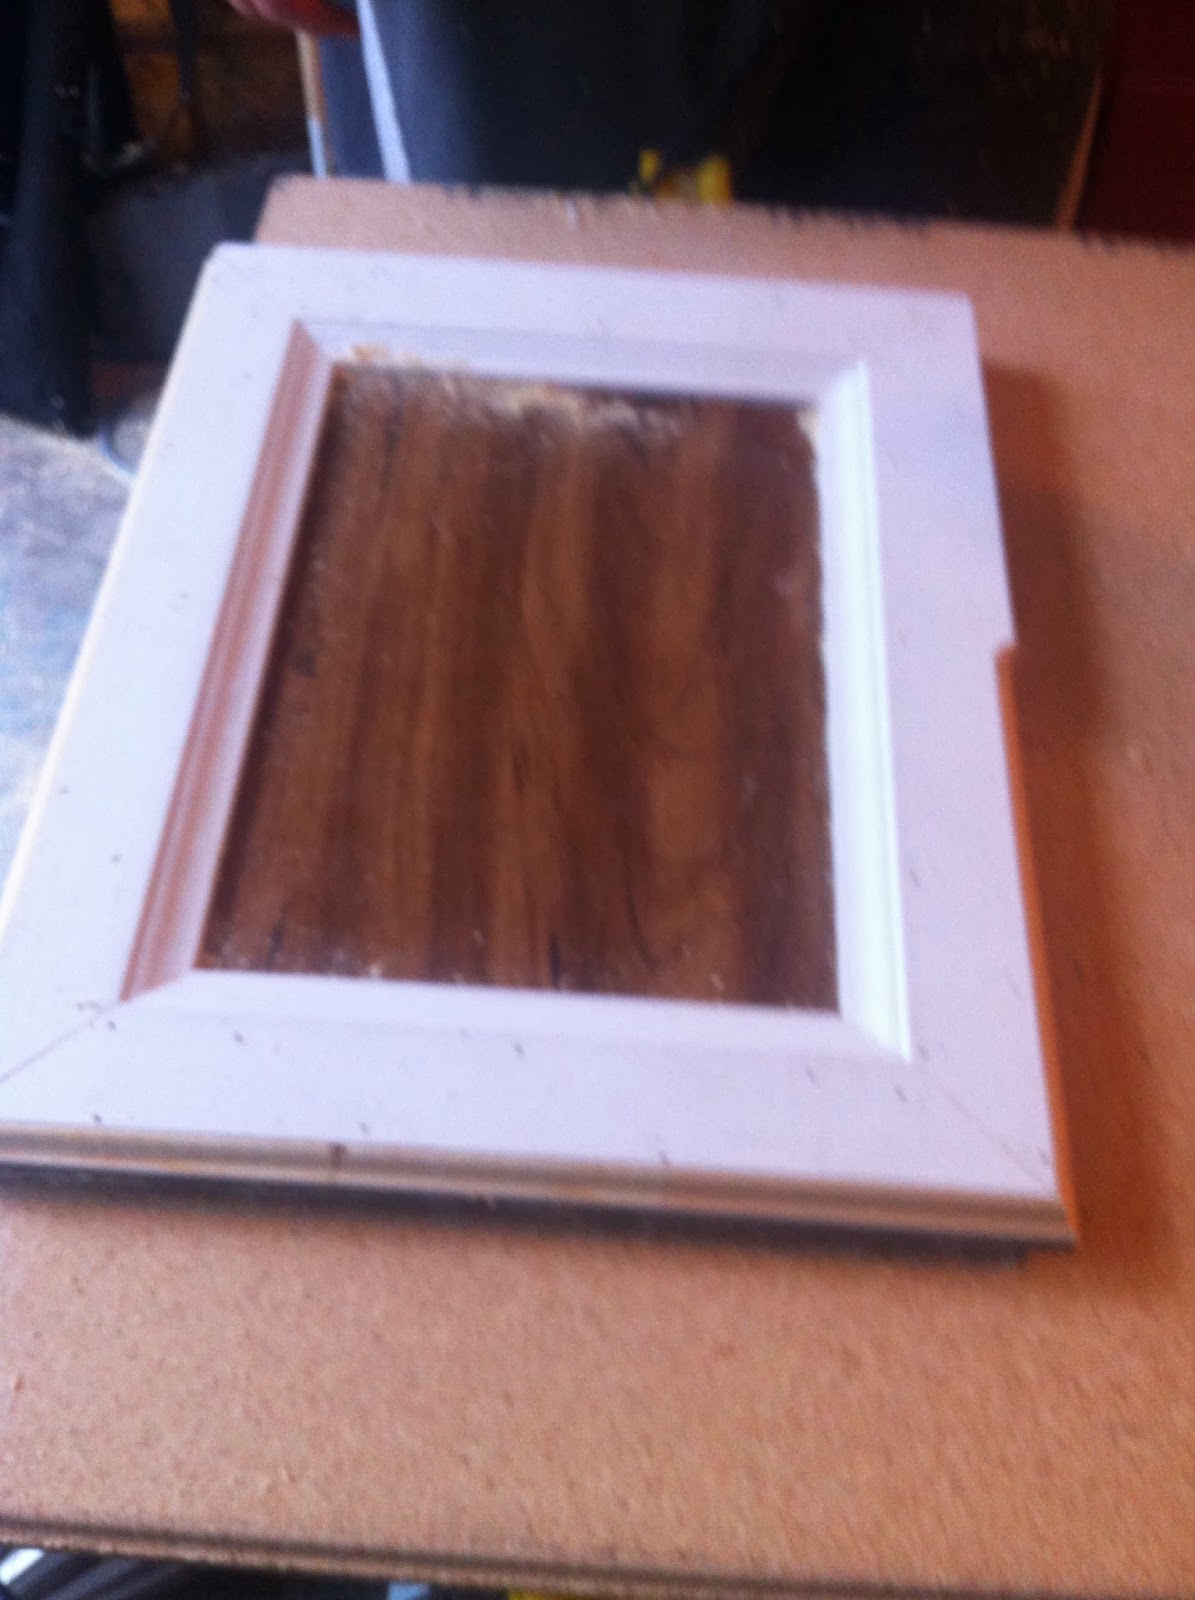
So we started by taking off all the doors then I wiped them down with an amonia water mix (beware don't smell straight amonia it could  make you almost vom bomb)

Then I primed them (took 2 hours ahhhhhh)

I didn't forget the insides 

Then I primed the new peninsula cabinets 

Hannah helped prime the drawers 

Yay more prime

Thanks Neighbor 

I taped off the window and used a sprayer to coat cabinets in Bavarian Creme mmmmm

Here is me in action 
Sometime before I finished spraying the men removed the old peninsula 


And found a stock pile of broccoli (GROSSS!)
Then the men installed the new peninsula. We now have more storage and more room next to the range YAY!

At this point we had to take a pause and wait for the rest of the house to get finished. 


Search This Blog