
We removed every single light fixture from the house. Not a single one would do for our particular style (which is not 1970's). No offense to the 70's but I'll take the 2000's over it any day. First off, for our battle for light fixtures David had to rewire the switches from the floating closet (see who needs licensed electrician?) Then he covered the wall in wainscoting to make it look custom. On this wall he created a switch board for our ceiling fan, kitchen light, and dining room light. So far we have installed the kitchen light and the ceiling fan. But the biggest battle was finding the time to purchase the new lighting and staying under budget. I was able to buy the ceiling fan, the kitchen drop down, and the flush mount by the bathroom in one run but the other remaining lights I bought the next weekend at a annual lighting tent sale. (I went a little over board so we had to take out from the furniture budget eeeee) Now the ceiling fan used to be where the dining room chandelier currently hangs. David cut a new hole in the center of the room (carefully measured and selected by myself), he then set up the wiring so we could install a central fan and light. The new fan is on a remote control and has 3 speeds! It is a little low but it is in the center of the room and makes no noise. Yay!


Next, David installed the kitchen lighting. I got a vintage looking wire light for over the sink (from HD) and a flush mount from the tent sale. My dilemma with flush mounts is many of them are circular and have a center point which is reminiscent of a "nipple." I despise them especially since my mind says BOOBS! everytime I see one. Maybe it's just me... So I found a flush mount with a square center point (very much not breast like).


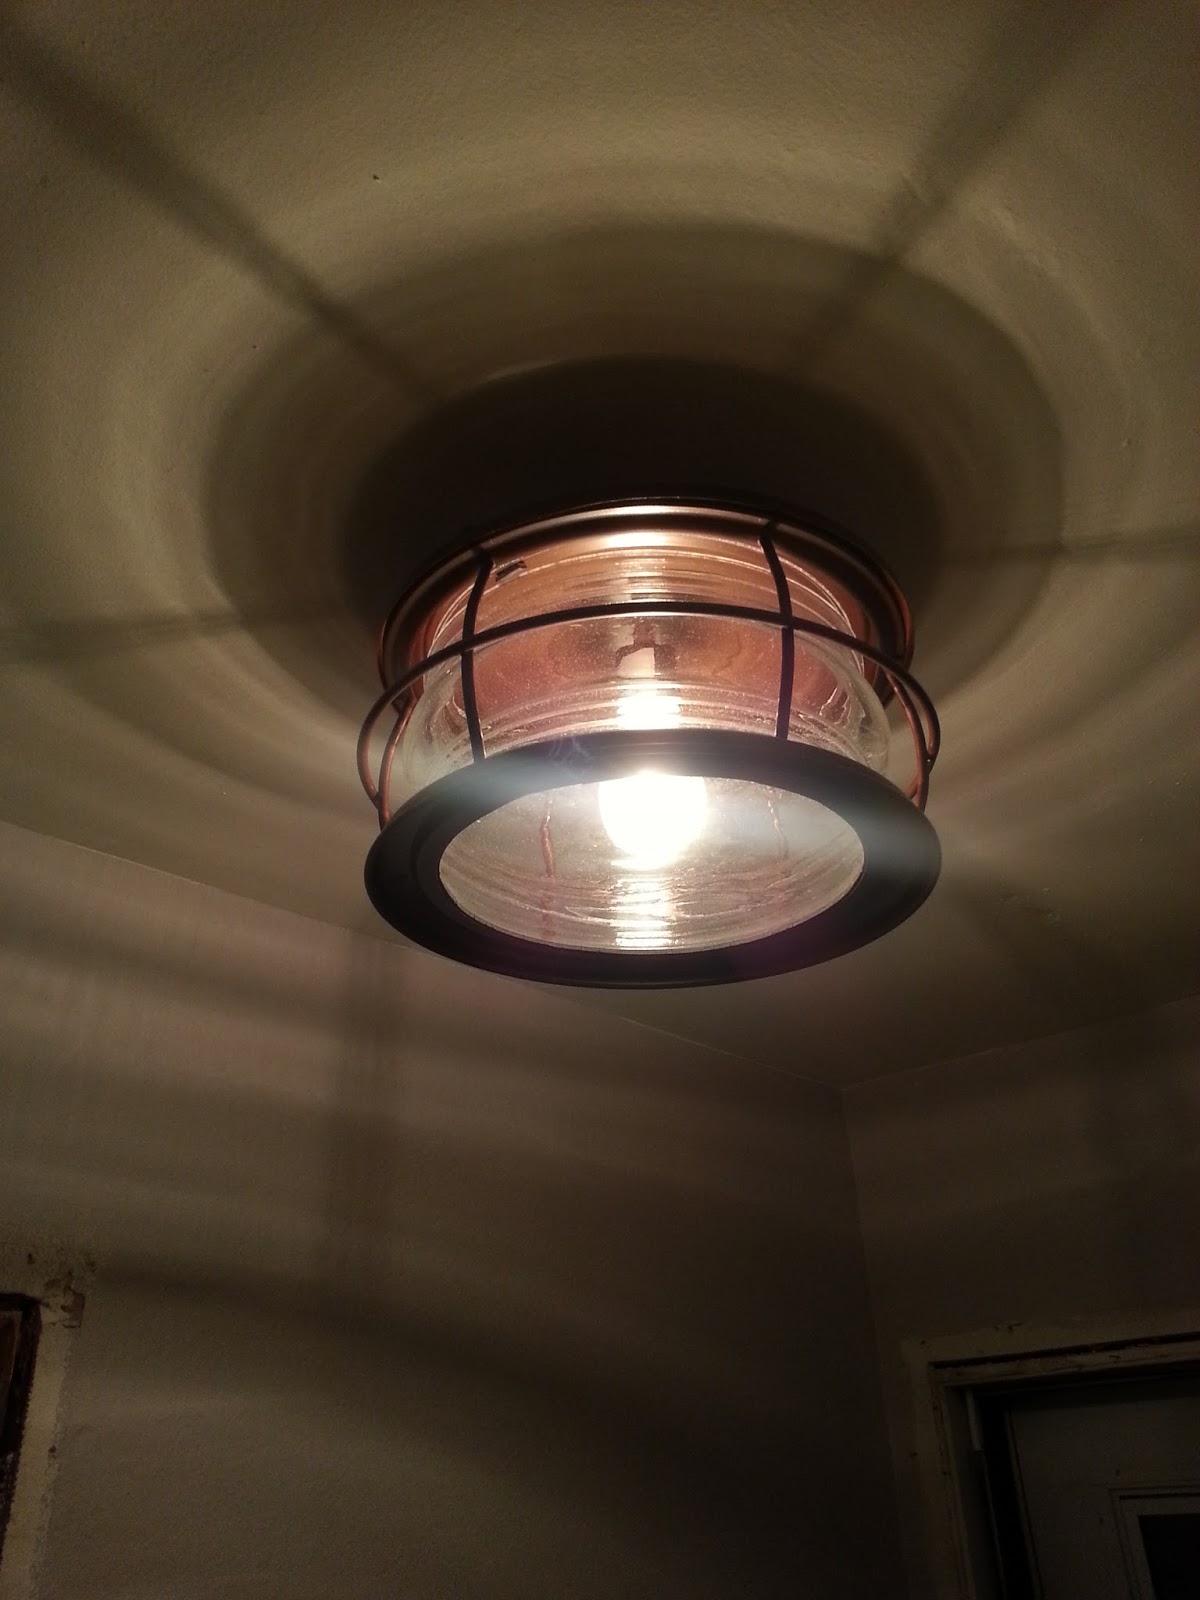
David (I assisted with moral support) installed another flush mount in the immediate entry. I picked a nautical fixture with a vintage bulb.


Here David is installing another flush mount in the hallway outside the guest powder room.


The final thing to do was install the entry way chandelier. I wasn't told to keep weight in mind when purchasing this item. Husband was a little concerned it might crash to it's death. However, upon further investigation and taking some extra precautions the chandy has not yet crashed post installation. First he added some screws to the mount box (my name for the plastic device that goes into the ceiling hole and holds all the wiring). This way there was peace of mind about the crashing fear. While he worked on setting up the electrical, I put bulbs in and got the chandy in position. (An extremely important job). My other jobs were to decide how far down the chand would hang and to hand it to David up in the ladder. So I handed it up and he hooked the chain through the anchor and screwed in the top. I am sure he can tell you it was much more complicated.


Wahhhhlaaaaaa
We have light!
The last thing to do is to turn our engagement chandelier into a light fixture. It's on the list of things to do but we probably won't get to it for awhile. I'll let you know when we do.


The last thing to do is to turn our engagement chandelier into a light fixture. It's on the list of things to do but we probably won't get to it for awhile. I'll let you know when we do.
No comments:
Post a Comment