

When you live in a community where a lot of the houses are the same you have to find a way to stand out from the crowd. Not only do we need to stand out but we have to compete with extreme botanist who seem to be able to grow anything by whispering to it. I am no such gardener. Most of my plants do not make it a week. But I still wanted an array of foliage to welcome people as they entered. I had hoped for a sweet smelling flora and fauna arrangement that would whisk you away to sensory bliss. However I was not willing to spend any money on such a dream and so we went a very cheap direction.
First thing to do was to tear out the overbearing bush. You all know them, those bushed that seem to attack you every time you walk by. With each snag on your shirt you are annoyed by it mere presence. So we hooked up old bushy to the truck and yanked it out. Took 2 minutes. Then came the arduous task of removing grass. I attempted to do this when our puppy was only 9/10 weeks old. His involvement surely slowed down the process and he kept attacking the shovel and laying on the spot I was trying to dig. Once the grass was removed we tilled the land, poured some compost on the area and went out to get plants.
Since we were on the free budget plan I went to a friends house who had a garden of mature perrennials. She and I dug up Iris, Lambs Ear, Succulents, hydreandras, Jupiters beard, and a number of other flowering plants. I transplanted them into our garden plot. My mother in law also gave us orange day lilies from her garden! It is easy to find free plants in your neighborhood. Ask a friend or even scour craigslist. Avid gardeners are really decorators at heart they too like to rearrange.
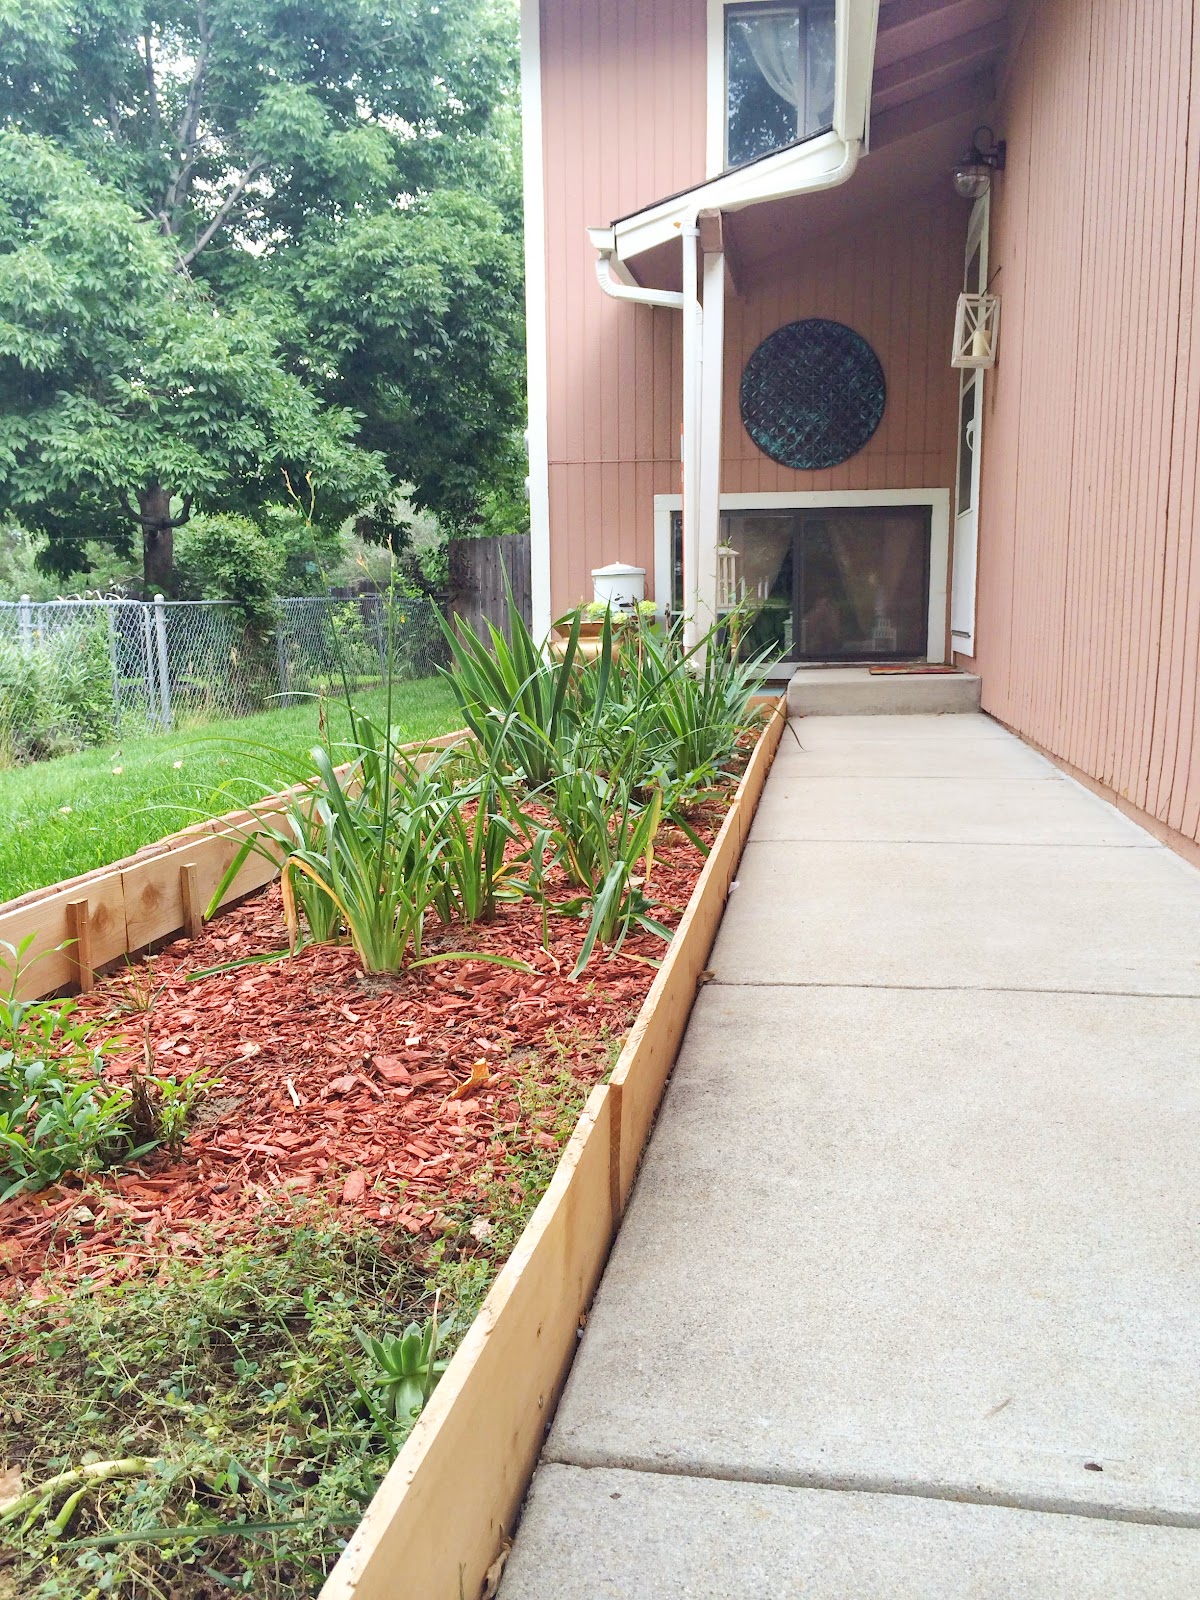
The last thing to do was to build a bed. With extra fence pickets we built a box around the flower bed. Each fence picket was drilled to a wooden stake that was hammered into the soil. We used a level to make sure the box was level all the way around (even though the ground was not level).
Lastly we filled in the box with fill dirt and compost and mulch. Quick tip on buying dirt from home depot: if you buy the broken bags they are 50% off.
For an extra touch we used extra bricks from our patio project to create a solid wall around the box. Some day we might mortar them together but for now they were a quick and pretty fix.
Then we really spruced up the place by painting our wooden landing, added a new light fixture, new rug, spray painted our pot gold, and added a few decorative items.
Total Cost for the Project:
Fence Pickets: $15 (leftover from other project) See: Laying a patio
Stakes: $10
Plants: Free
Dirt and Compost : $15
Mulch: $6
Gold Spray Paint: $5
Shenandoah Green Paint: Free (leftover from other projects)Lantern: Free (Pilfered from the office)
Brick Wall: Free leftover from patio project See: Laying a patio
Enamel Pot: $10 from thrift store
Metal Art: $7 Thrift Store
Total Makeover Cost: $63


No comments:
Post a Comment